Showing posts with label framing a wall. Show all posts

Tuesday, February 18, 2014

Who shot a .22 in the basement?

One of the perks of framing a basement is getting to ignite a .22 shell in your basement with a hammer.


I bought a Ramset for my previous basement renovation. It was about $30 at Home Depot. It uses a .22 shot to blast nails through your bottom plate into the concrete. Some people use tapcons, but I've found them to be tedious, and this to be more fun. Seriously, it's a .22 shot. They make more automatic nailers than this one, which is very similar to using a muzzle-loader, but for the 30 or so nails I'll put in, this works just fine. A word to the wise -- oil your Ramset daily! They sell a specific oil for them, which I purchased and subsequently leaked all over my toolbox, so I now use air tool oil, and it seems to do the trick.

Where I live, it is building code for home builders to frame and insulate the exterior walls of the basement when they build a house. This saves a lot of work and money when it comes to finishing the basement (I spent only $250 on the framing lumber) but it makes for new challenges when it comes to adding walls where one wasn't planned. If you were framing the whole basement, you would build your exterior walls with the interior walls in mind. However, if you were framing the basement with finishing as quickly and cheaply as possible in mind, you'd put your studs 24" on centre, and put no backing for walls or drywall anywhere.

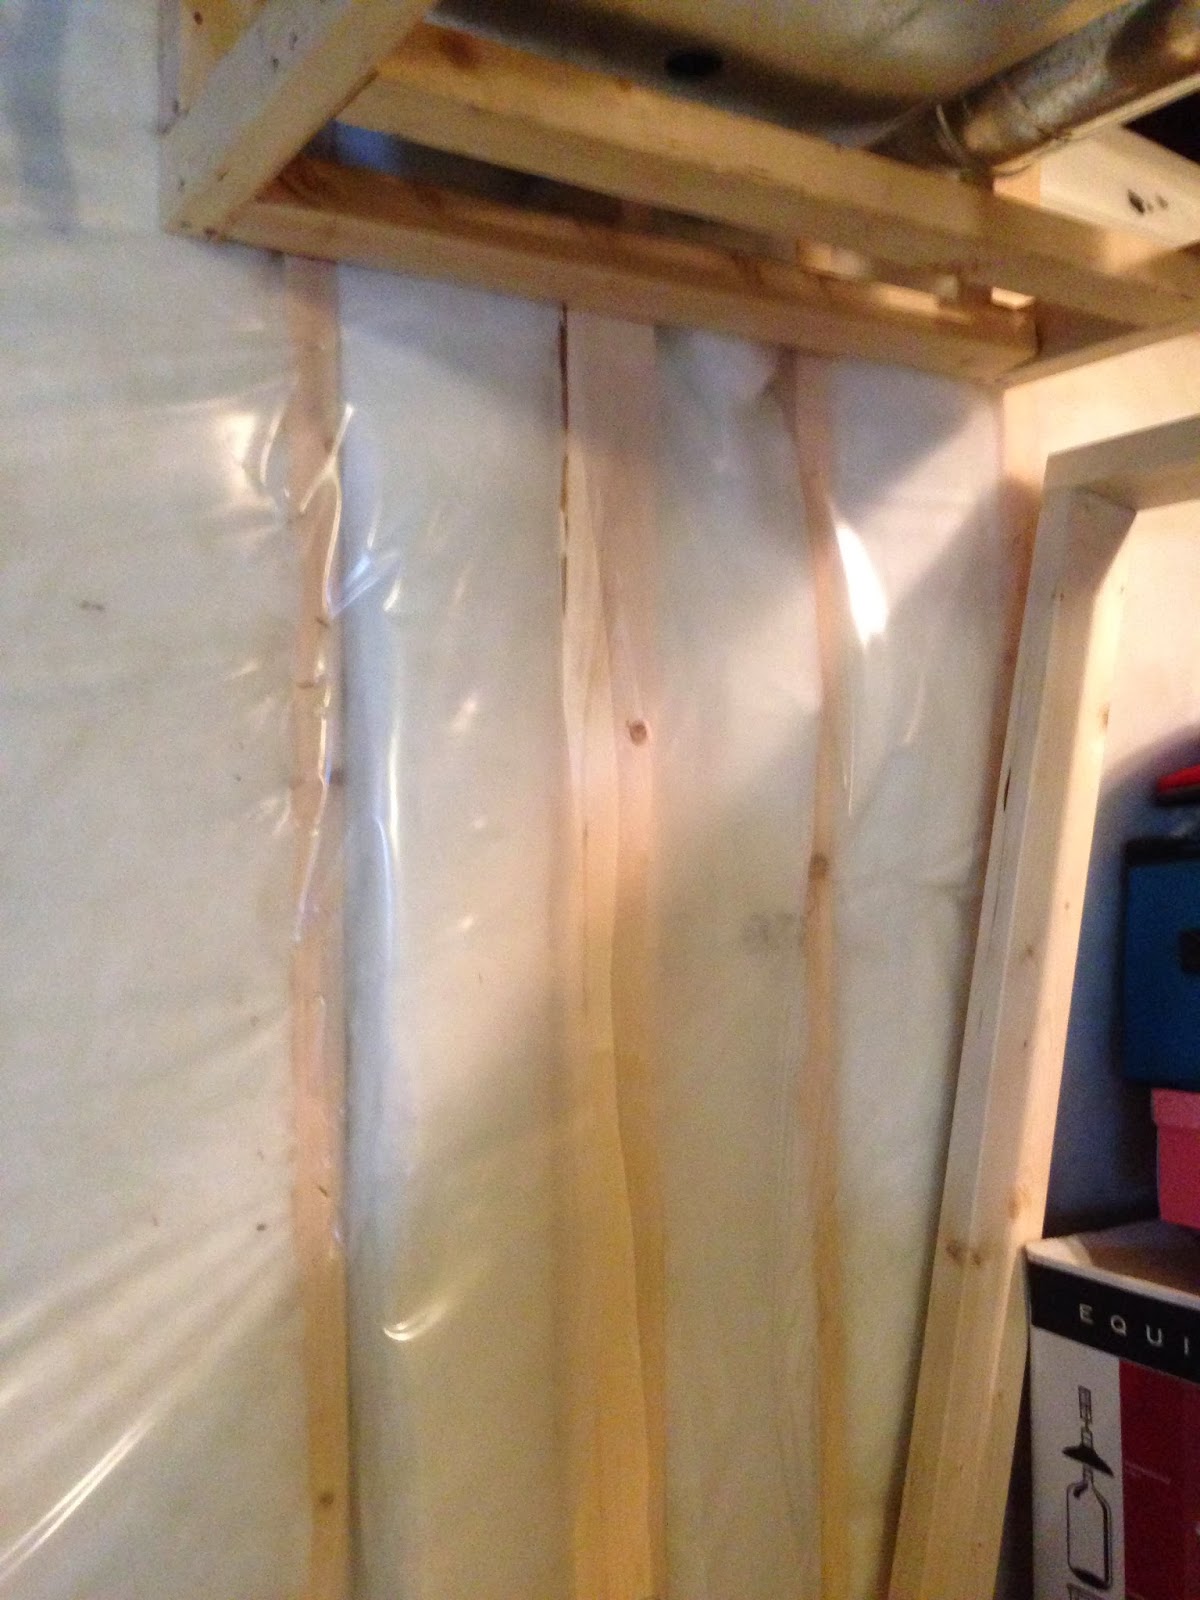
Today, I built the last wall for the bathroom, and had to tie it into the outside wall framing. When I cut the vapour barrier to slip a 2X4 in to provide backing for the drywall on the corner, I discovered some real fun:
I opened the wall to discover a pressure treated 4X4 (holding up the main beam, I think), a couple plumbing stacks, and, just for fun, some electrical!
I worked around what was there to secure the interior wall to the exterior as best I could. When I was done, I had added backing for the drywall like below:
Now when the drywall is installed into the corner, it will be supported by the backing. 
Next, I had to re-seal the vapour barrier. It is regularly -40 here (where Celsius and Fahrenheit meet!) in the winter, so maintaining the integrity of the seal is important. I used a combination of acoustical sealant and Tuck Tape to seal the vapour barrier to the wood I added. The acoustical sealant was leftover from a 2007 job in our previous house -- the original Handyman's Dream -- and it was still soft. That stuff really never does dry out!
Acoustical sealant on the seam where I cut open the vapour barrier. Essentially, I've included the 2X4 in the vapour barrier by sealing both sides of the cut to the wood.
Here's what the Tuck Tape looks like:
Tuck Tape. Someone smarter than me would be able to tell which provides a better seal.
At the end of the day, I finished two more walls in addition to the bathroom wall. I still have to finish the wall in front of the storage under the stairs, frame in the bathtub, and make sure I have drywall backing everywhere.
Looking through the pocket door opening into the bedroom. The closet doors are framed on the left.
The last wall on the bathroom, complete with bulkhead. Notice the tuck tape to re-seal the vapour barrier.

Monday, February 17, 2014

Framing the Argument

Okay, not so much the argument as the basement. I've been mucking around in my spare time framing a wall here and there with the kids. I do all the cutting in the garage. I can't bring myself to move the saw into the basement because of the sawdust generated -- I figure with such a small basement to frame, the time spent walking with wood is negligible. I measure out a wall, draw it out indicating the heights of each stud and top/bottom plates, and then go to the garage. After cutting all the wood, I carry it downstairs, assemble the wall using my framing nailer and air compressor, and stand it up into place. This isn't really more time than it would take if I had carried the wood downstairs at the beginning.
Looking straight into the storage room.
To begin, I extended the wall from the bathroom out to the stairs. This frames out the storage room. 
The bathroom (on the left) and the storage room (straight ahead). 
The view from the stairs straight down into the bathroom.

This week I have time off work for February Break, so I am going to try to finish framing the walls and bulkheads. I am also going to try to put together an order for the majority of the supplies for the rest of the project. I have a commercial account at Lowe's, and orders over $2500 are discounted up to 20%. So far, we have picked out our bathtub/shower, flooring (LVT - more on that later),  and suspended ceiling. That should hit the $2500 threshold easily.

Yesterday, I took the kids downstairs and we hung a few electrical boxes. Norah, now 5, marked the 46" height for the light switches (she knows to mark the X above the line) and the 12" height for the plugs. Nolan (who will be 3 in a few months) picked out the screws I needed, hit studs and the plumbing rough-in with a hammer, and shone the flashlight. Wherever he wanted. He did, however, today proudly tell our friends who came over, that "We build a wall!" and took them downstairs to show off. His tour was cut short when he was distracted by a soccer ball. I am excited to see what they think of the progress this week!

Saturday, February 1, 2014

A Wall...So it begins.

Today, while my wife and daughter were out at a movie, Nolan and I undertook building the first wall in the basement. Previously. I built a bulkhead around the heating duct, and all that was needed was the wall below. I secured the bottom board on the bulkhead by using an old tie (pictured below.) This would be a simple job with a partner, but I didn't have one at the time. I have found that working alone, I come up with some pretty good workarounds.
The tie held the bottom board high enough that I could screw one end of the board, and then move to the other end to do the other. I am not sure how I would have held the board in the right position without something holding it up.
However, after building the bulkhead, I had some concerns about floating the walls. Initially, I had planned to float the walls on the bottom, as is common in Saskatchewan. (For those of you whose homes aren't built on soil that constantly shifts, floating a basement wall means that you don't tie it into both the concrete floor and the bottom of the floor joists above. This allows for the floor to shift and move a bit, without it pushing up on the main floor of the house.)

One of the features of the basement is a double pocket door from the rec room into the den/spare bedroom/play room/whatever it ends up being used for. This is something we did in our last basement, and it will allow light to come into the rec room through the other room. It will also allow the kids a place to play while we recreate in the rec room. My concern with leaving a gap at the bottom of the walls and installing 5' wide pocket doors is that the whole wall (which is only 14' long) will have a 10' wide unsecured opening. Because the pocket doors need to slide into the wall, and there needs to be a gap under the wall/doors to create the float, there is no good way to affix the wall to the floor.

After some reading and consultation (Shannon @ house-improvements.com, of course) I decided to float the walls at the top. Basically, the walls are 2" short of the bottom of the floor joists (or ceiling.) Note that this only works if a suspended ceiling is being used. If you are drywalling your ceiling, you have to float the walls at the bottom.
Nolan using a crescent wrench to help me straighten a stud.
After building the wall, I had to put some backing for the drywall into the existing exterior wall. I slit the vapour barrier, attached an additional stud, and taped it back up.
Nolan loved the taping part. While doing this, I also found the drain pipe for the vanity that the builder said was "somewhere there in the wall."
After building the wall, I attached it to the bulkhead and then lowered the bulkhead from the ceiling, and voila! Because I changed my mind about the float, I will have to find a way to drill holes in the top plate to put spikes through to the floor joists. A problem for another day!

Search the Handyman's Dream