Today, while my wife and daughter were out at a movie, Nolan and I undertook building the first wall in the basement. Previously. I built a bulkhead around the heating duct, and all that was needed was the wall below. I secured the bottom board on the bulkhead by using an old tie (pictured below.) This would be a simple job with a partner, but I didn't have one at the time. I have found that working alone, I come up with some pretty good workarounds.
 |
| The tie held the bottom board high enough that I could screw one end of the board, and then move to the other end to do the other. I am not sure how I would have held the board in the right position without something holding it up. |
However, after building the bulkhead, I had some concerns about floating the walls. Initially, I had planned to float the walls on the bottom, as is common in Saskatchewan. (For those of you whose homes aren't built on soil that constantly shifts, floating a basement wall means that you don't tie it into both the concrete floor and the bottom of the floor joists above. This allows for the floor to shift and move a bit, without it pushing up on the main floor of the house.)
One of the features of the basement is a double pocket door from the rec room into the den/spare bedroom/play room/whatever it ends up being used for. This is something we did in our last basement, and it will allow light to come into the rec room through the other room. It will also allow the kids a place to play while we recreate in the rec room. My concern with leaving a gap at the bottom of the walls and installing 5' wide pocket doors is that the whole wall (which is only 14' long) will have a 10' wide unsecured opening. Because the pocket doors need to slide into the wall, and there needs to be a gap under the wall/doors to create the float, there is no good way to affix the wall to the floor.
After some reading and consultation (Shannon @
house-improvements.com, of course) I decided to float the walls at the top. Basically, the walls are 2" short of the bottom of the floor joists (or ceiling.) Note that this only works if a suspended ceiling is being used. If you are drywalling your ceiling, you have to float the walls at the bottom.
 |
| Nolan using a crescent wrench to help me straighten a stud. |
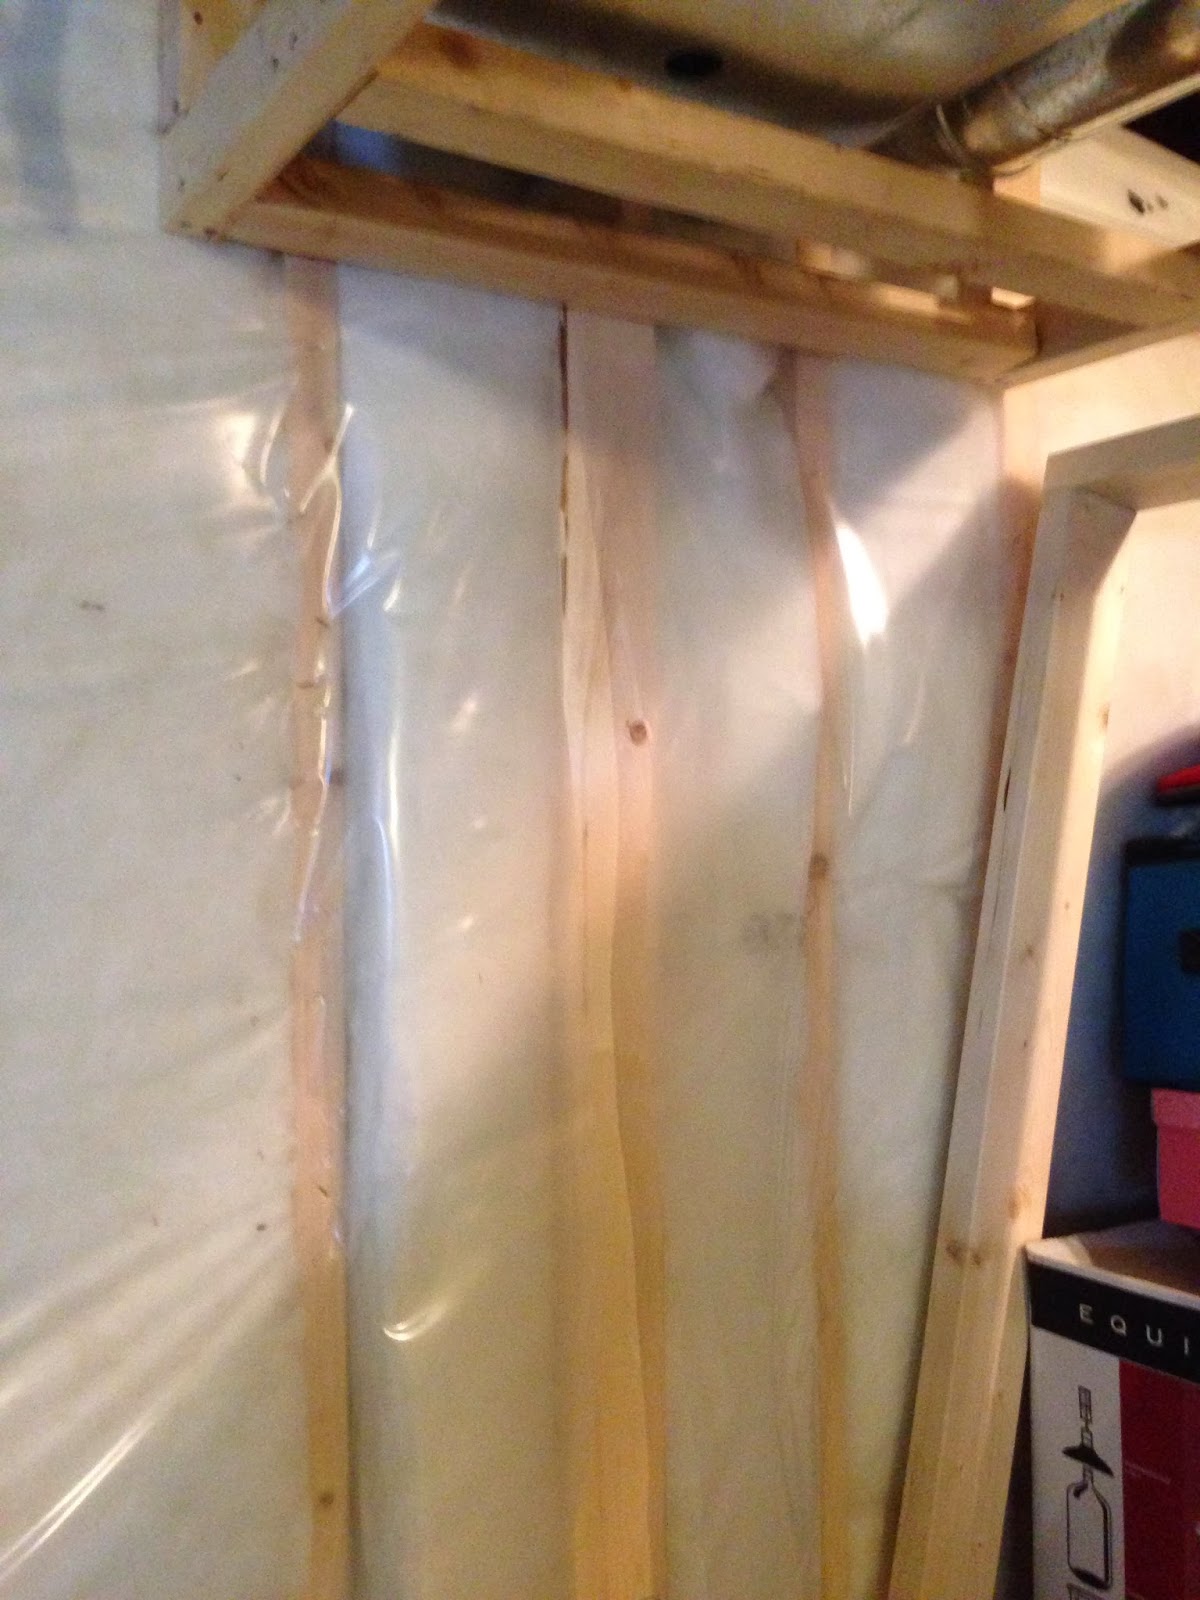
After building the wall, I had to put some backing for the drywall into the existing exterior wall. I slit the vapour barrier, attached an additional stud, and taped it back up.
Nolan loved the taping part. While doing this, I also found the drain pipe for the vanity that the builder said was "somewhere there in the wall."
After building the wall, I attached it to the bulkhead and then lowered the bulkhead from the ceiling, and voila! Because I changed my mind about the float, I will have to find a way to drill holes in the top plate to put spikes through to the floor joists. A problem for another day!
.JPG)

Looking good Chris!
ReplyDelete