Above our interior ceiling drywall, where a normal Canadian house would have an attic with at least R-40 insulation (R-60 is recommended), we have an 8 inch space, and R-8 insulation. Had, that is, until last weekend, when we did a major upgrade to the roof.
I have been mulling over this renovation for months - as my father so kindly pointed out while we sweated atop the roof on Friday, I may be a little OCD. Touche. There were a couple options for adding insulation, none of which were particularly appealing.
Option A: Add insulation on top of the existing insulation. This means removing shingles, lifting the plywood, adding insulation, putting the plywood back down (if it can be saved) and then shingling.
Option B: Add insulation below the existing insulation. This means framing the inside of the ceiling with 2X4s (in the house), move the electrical boxes down, have someone come in and spray foam the space ($7000), drywall overtop, mud, prime, and paint.
In the end, I decided not to go with spray-foam insulation (mixed reviews and very costly) and chose Option A. However, in order to add enough insulation for the R-value to increase substantially, a step had to be added -- after removing the plywood, additional space would have to be added to the rafters to allow for ventilation. So, we had to nail 2X3s on top of the rafters. This meant that when replacing the fascia, custom 10" fascia would have to be ordered.
The first day, we worked on one side of the house, and stripped shingles, lifted plywood, moved 3 light fixtures (or, more accurately, my dad moved 3 light fixtures) nailed 2X3s on the rafters (thank God for framing nailers and air compressors) and re-sheeted. At 9:30pm (and after amassing a combined 52 man hours between me, two buddies, my dad and brother) we were done. My wife provided us with lunch and supper in true farm-wife fashion. By the end of the third day of playing farm-wife, no doubt she was grateful I didn't choose farming as my career.

This shows how we added the 2X3s, and then laid the insulation in place. There needed to be at least a 1" air space above the insulation, which is why we had to sister the 2X3s in top of the existing 2X8s.

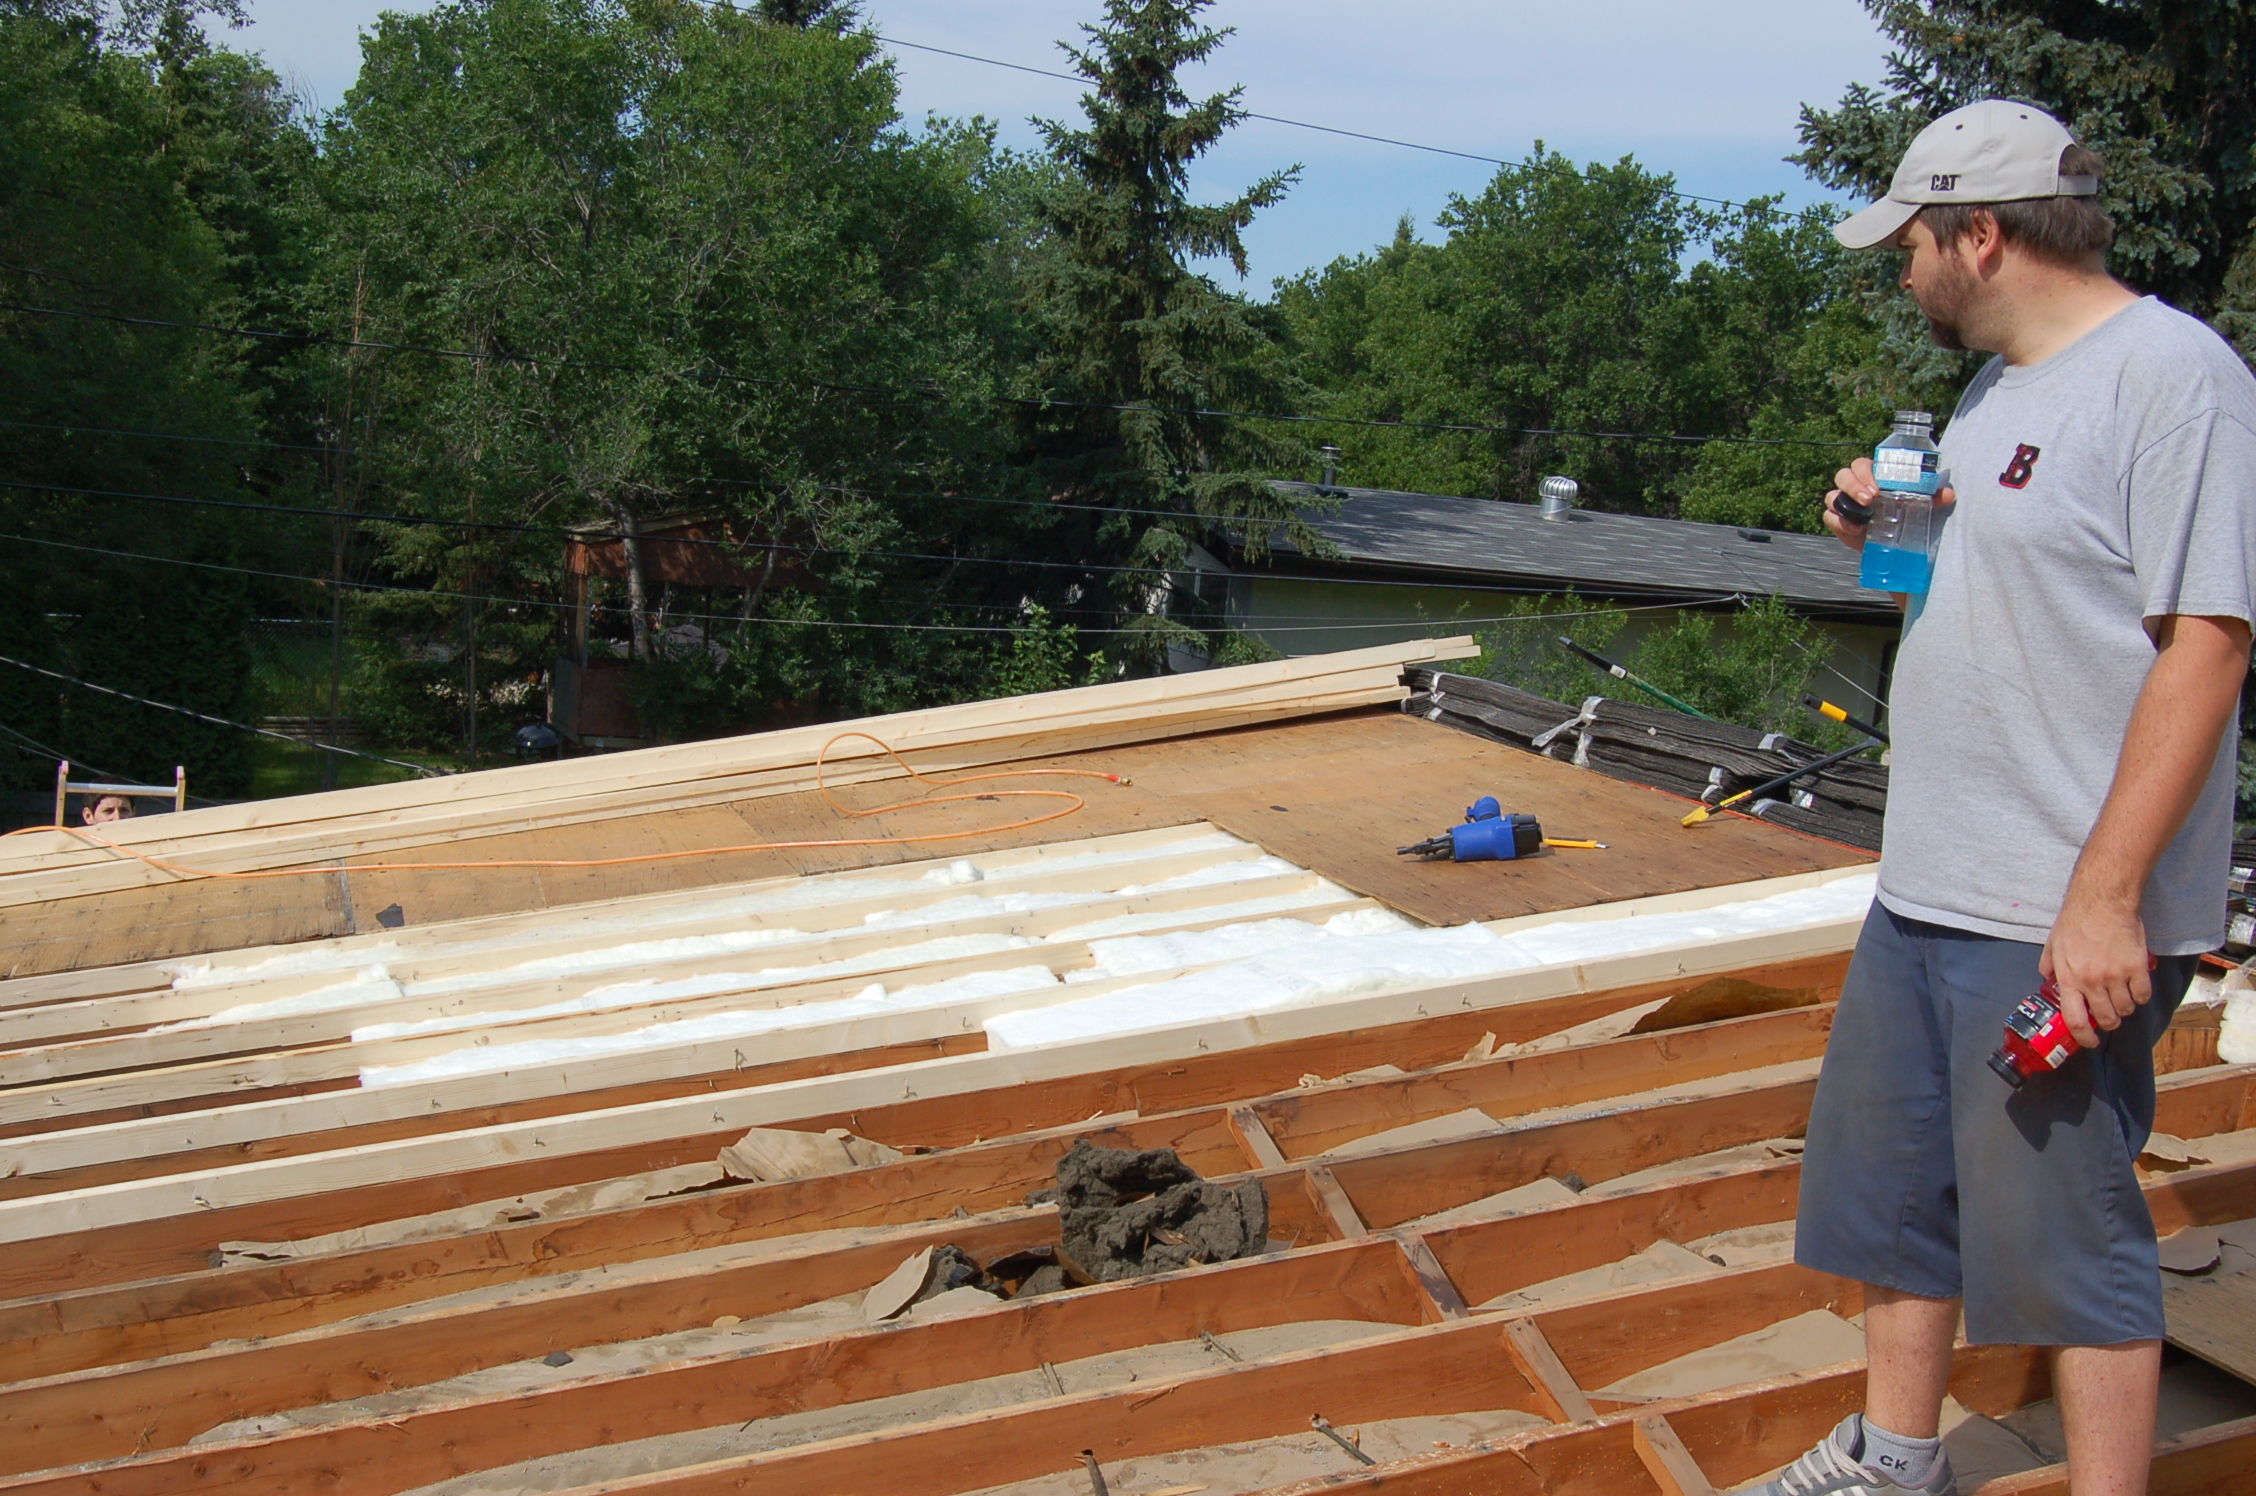
This is the giant reflective surface we made. If you look closely, you can see we're dying a slow, hot death...that insulation sure works at reflecting heat..
That night, with half of the roof covered only in plywood, I heard thunder. And heavy rain. By the time I got up to the rooftop, and laid out all the poly I had in the garage, the rain had stopped. All the poly did was hold the moisture against the tar paper. I was mocked thoroughly the following morning for my efforts, since it was a very localized rainstorm, and my buddies (who all live within 10 blocks) had noticed no rain. I say better safe than sorry. In reality, the mocking gave them something else to do, rather then think about the still-monumental task facing us.
Day two we changed some tactics - first off, since the day before was close to 30 degrees and we were laying down heat reflecting insulation, we decided to start at 6am and break from 1:30 to 3:30 or so.
My dad wasn't there, but two other buddies replaced him. (Don't tell him that it took two to replace him - his head is big enough.) One could only be there in the am, but decided he wouldn't leave until the remaining 30 bundles of shingles were up on the roof. He was true to his word, and he made our job the next day a lot easier. We also worked from one end, re-sheeting each section right after we insulated, so as to avoid the heat reflecting off of the insulation. We got the same amount done as the first day (minus the electrical) in just 37 man hours. Not bad!
The whole time we were working, the fear was that someone would miss a rafter and step through the ceiling, into the house.
This is Stu, the one holding the blue gatorade and looking at the camera.

This is the hole he made in our kitchen when he missed a rafter. He was okay, thank goodness. Almost gave my wife a heart attack, mind you.

That turned out to be the only mishap of the day, and we were done by 5:30, even with our two hour air-conditioning break.
Day three we shingled.

Here's the tar paper and shingles, ready to go -- because it is a low slope roof, we had to double tar paper, and glue every shingle tab down. This wasn't as bad as it sounds. We had an air nailer, and with 4 guys placing shingles, one guy cutting edges, and one nailing, we did both sides in record-ish time. Only 48 man hours that last day. I still have some sealing to do, but it can now rain as much as it wants!
So, the shingles are done - now I just have to do soffit and fascia so that the roof gets some venting. All in all it was quite a lot of work and I can't imagine how expensive it would have been to hire someone to do it. It didn't even end up costing me much in beer, because by the time we came off the roof each day we were too exhausted to drink anything but water. All in all, 8 of us worked on the roof, and put in almost 140 hours over 3 days. Now all I need to do is find new friends...since the ones who helped aren't returning my calls anymore.
When you decide to cover the roof with the Spray Foam Roofing , make sure that the climate is dry. You do not want your roof to be very wet and damp, when you start working, because it might interfere with your work and high performance coatings.
ReplyDelete